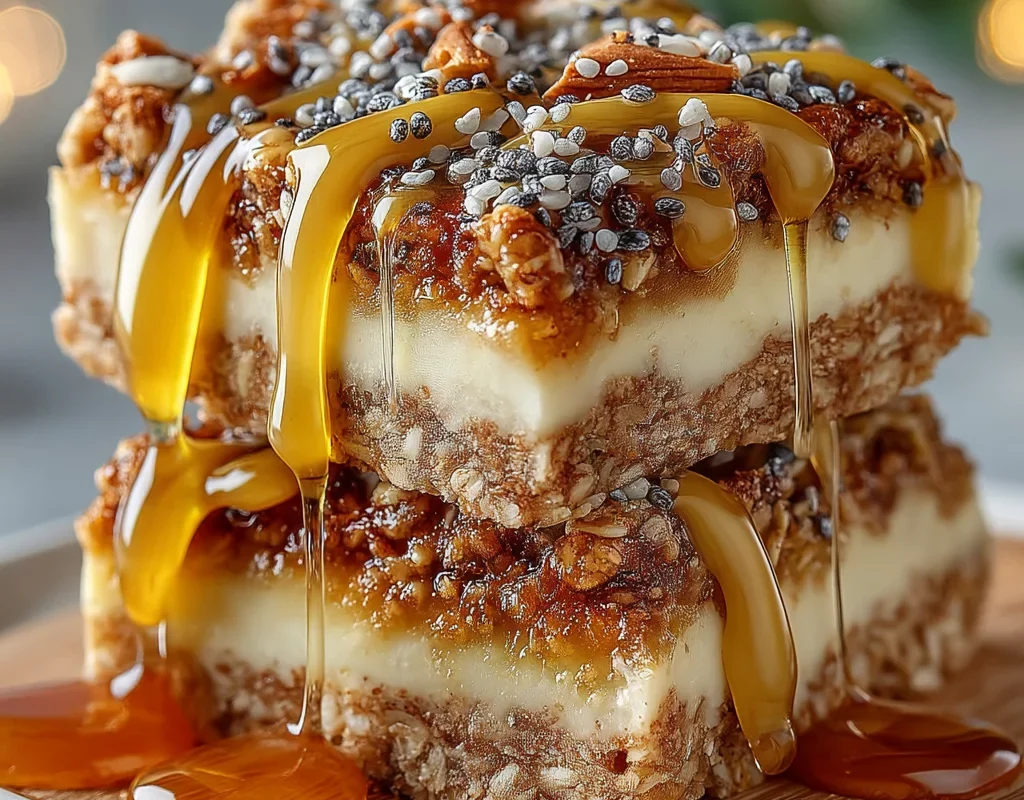
Have you ever bitten into a protein bar and wished it tasted more like a treat and less like cardboard? I’ve been there too, which is why I’ve spent years perfecting my Oat Honey Protein Bars No Bake recipe. These bars are chewy, sweet, and packed with nutrients—plus, they’re so easy to make, you won’t even need to turn on your oven. I first started experimenting with this recipe when I was looking for a quick, healthy snack to fuel my busy days. Now, I make a batch every Sunday, and they’ve become a staple in my kitchen.
In this article, you’ll learn 7 secrets that make these bars foolproof and delicious. I’ll share my tips for getting the right texture, choosing the best ingredients, and customizing the recipe to fit your preferences. Whether you’re new to making protein bars or you’ve tried a few recipes without success, I’ve got you covered. These bars are gluten-free, customizable, and perfect for anyone looking for a wholesome snack.
From selecting the right oats to mastering the honey-to-protein powder ratio, I’ll walk you through everything you need to know. By the end, you’ll have a batch of Oat Honey Protein Bars No Bake that you’ll be proud to share—or keep all to yourself!
Why These Oat Honey Protein Bars No Bake Work
One of the things I love most about these Oat Honey Protein Bars No Bake is how they’re packed with nutrients without sacrificing flavor. If you enjoyed this, you might also like Protein Overnight Oats. I’ve tried countless recipes over the years, but this one hits all the right notes—chewy, sweet, and satisfying. Plus, the no-bake preparation makes it a breeze to whip up, even on my busiest days. You can customize the protein content to fit your needs, whether you’re looking for a post-workout snack or a mid-afternoon pick-me-up. These bars are versatile, delicious, and perfect for anyone looking for a healthier option.
Health Benefits in Every Bite
These bars are loaded with healthy oatmeal protein bars ingredients that keep you fueled throughout the day. The oats provide fiber and slow-digesting carbs, while the honey adds natural sweetness and energy. I’ve found that using protein powder boosts the nutritional profile, making them ideal for active lifestyles. Unlike store-bought options, you control the ingredients, so there’s no hidden sugar or artificial additives. I always feel good knowing I’m eating something wholesome and nourishing.
7 Simple Ingredients You Need
When I first started making these healthy oatmeal protein bars, I wanted to keep the ingredient list simple but impactful. If you enjoyed this, you might also like Protein Banana Pancakes. The base is rolled oats, which give these bars their chewy texture and provide lasting energy. I always use honey as the natural sweetener because it blends perfectly with the oats and adds a touch of sweetness without being overpowering. For the protein, I prefer protein powder, but I’ve experimented with alternatives like nut butter or even Greek yogurt for a twist.
Ingredient Substitutions
If you’re out of honey, maple syrup works just as well and adds a slightly different flavor profile. For those avoiding oats, quinoa flakes can be a great alternative, though they’ll change the texture a bit. I’ve also swapped protein powder for peanut butter or almond butter when I wanted a nuttier taste. These no bake protein bars are incredibly forgiving, so don’t hesitate to get creative with what you have on hand.

Health Benefits in Every Bite
What I love most about these high protein oat bars is how nutritious they are. The oats are packed with fiber, which keeps me full longer, and the honey provides a natural energy boost. Adding protein powder turns them into a perfect post-workout snack, but even without it, they’re still a wholesome option. I feel good knowing I’m fueling my body with ingredients I trust, and they taste way better than anything store-bought.
Step-by-Step No-Bake Instructions
After talking about the health benefits and ingredient swaps for these bars, it’s time to dive into making them. If you enjoyed this, you might also like Chicken Avocado Protein Salad. Trust me, it’s easier than you think, and the results are so worth it. I’ve made these healthy oatmeal protein bars dozens of times, and I’ve picked up a few tricks along the way to get them just right. Let’s walk through the process step by step so you can create your own perfect batch.

Getting the Right Consistency
First, mix your dry ingredients—oats, protein powder, and any extras like nuts or seeds—in a large bowl. In another bowl, whisk together your wet ingredients: honey, nut butter, and a splash of milk if needed. I find that warming the honey and nut butter slightly makes them easier to mix. Slowly pour the wet mixture into the dry ingredients, stirring until everything’s evenly coated. The dough should be sticky but not too wet—add more oats if it feels loose.
Proper Pressing Technique
Once your dough is ready, line a baking dish with parchment paper and transfer the mixture into it. I use my hands to press it down firmly, making sure it’s evenly spread. A flat-bottomed glass can help smooth the surface if you want it extra neat. Pressing it down firmly ensures the bars hold together well when you cut them. Then, pop the dish into the fridge for at least 2 hours—this chilling time is key to getting the perfect texture for your no bake protein bars.
Expert Tips for Perfect Bars
Getting the right consistency is just the first step—how you handle the bars afterward makes all the difference. I’ve learned through trial and error that measuring ingredients accurately is non-negotiable. Too much honey, and your bars turn sticky; too little, and they crumble. I use a kitchen scale for precision, especially with the oats and protein powder.
Storage Recommendations
These no bake protein bars stay fresh for up to a week in the fridge if stored properly. I line an airtight container with parchment paper to prevent sticking, then layer the bars with more parchment between them. Freezing works too—just wrap each bar individually in plastic wrap before tossing them in a freezer bag. They thaw in minutes, making them perfect for grab-and-go snacks.
Lining the Pan Properly
Don’t skip the parchment paper—it’s the secret to clean cuts. I leave a few inches overhanging the sides so I can lift the whole slab out easily. Pressing the mixture into a well-lined pan means no stuck edges or messy cleanup. Pro tip: Lightly greasing the parchment helps if your dough is extra sticky.
Cutting Techniques
Chill the bars thoroughly before slicing—I wait at least 2 hours. A sharp knife dipped in hot water glides through the healthy oatmeal protein bars without squishing them. For uniform pieces, I score the slab lightly first, then make decisive cuts. If they crumble, press the bits back together—they’ll firm up again in the fridge.
Common Mistakes to Avoid
Getting those no bake protein bars to hold together perfectly takes a little know-how—trust me, I’ve learned the hard way! After chilling your batch (like we covered in the cutting section), you might still run into a few hiccups. Here’s how to fix them without starting over.
Fixing Crumbly Bars
I’ve ruined a batch by grabbing instant oats instead of old-fashioned—they absorb less moisture, leaving your high protein oat bars dry. Also, overheating the honey mixture makes it too thin to bind properly; warm it just until runny. And don’t be gentle when pressing the mix into the pan! I use the bottom of a glass to really compact it. If they still crumble, drizzle a bit more melted honey over the top and chill again. For more information, see King Arthur Baking Guide.
Lining the Pan Properly
Skipping parchment paper is asking for trouble—I once spent 10 minutes scraping sticky bits off the pan. Leave overhang so you can lift the whole slab out smoothly. For extra insurance, I rub a tiny bit of coconut oil on the parchment. It’s a game-changer for those stickier batches of healthy oatmeal protein bars. For more information, see Baking Basics.
Delicious Variations to Try
After perfecting the basic recipe for no bake protein bars, I love playing with flavors to keep things exciting. My kids beg for the chocolate chip version—just fold in ¼ cup mini chips after mixing. For nut-free alternatives, sunflower seed butter works wonders, though you’ll need an extra tablespoon since it’s thinner than peanut butter. And when my vegan friends visit, I swap honey for maple syrup and use pea protein powder. The texture stays perfect if you chill it an extra hour. For more information, see Serious Eats Baking.
Seasonal Flavor Ideas
Last fall, I stirred in pumpkin puree and pumpkin spice for cozy healthy oatmeal protein bars—just reduce the honey by a tablespoon since the puree adds moisture. In summer, dried mango and coconut flakes taste tropical. For winter, cranberries and orange zest make them festive. My neighbor swears by adding matcha powder for spring, but I’ll admit that one’s an acquired taste!
Texture Tweaks
If you prefer crunchier high protein oat bars, toast the oats first or add chopped almonds. For chewier bars, swap half the oats for puffed rice cereal. I once accidentally used quick oats instead of old-fashioned, and they turned out denser—still tasty, but now I stick to the original. Pro tip: Pressing the mixture firmly with damp hands prevents crumbling when slicing.
Nutritional Breakdown
Since I often bring these no bake protein bars to gym sessions and hikes, I’ve paid close attention to their nutritional profile. Each bar packs around 200 calories, making it a satisfying snack without overdoing it. They’re a great balance of carbs, protein, and healthy fats, with about 8 grams of protein per serving—perfect for refueling after a workout. Plus, the oats add a solid dose of dietary fiber, which keeps you full longer and supports digestion.
Dietary Considerations
These healthy oatmeal protein bars are naturally gluten-free if you use certified gluten-free oats, and they can easily be made vegan by swapping honey for maple syrup. I’ve also experimented with different protein powders to suit dietary needs—pea protein works wonders for my vegan friends. One thing I love is how customizable they are; you can tweak the ingredients to fit specific diets without sacrificing taste or texture.
Macronutrient Profile
The macronutrient breakdown is what makes these high protein oat bars so versatile. They’ve got a good mix of complex carbs from the oats, protein from the powder, and healthy fats from the nut butter. I find they’re especially great for athletes or anyone needing a quick energy boost. Plus, the natural sweetness from the honey keeps them satisfying without relying on refined sugars. It’s a snack you can feel good about enjoying anytime.
Frequently Asked Questions
How do I make oat honey protein bars without baking?
Making no-bake oat honey protein bars is super simple! First, mix rolled oats, protein powder, and your favorite add-ins like nuts or dried fruit in a bowl. Then, warm honey and peanut butter in a saucepan until smooth. Pour the wet mixture over the dry ingredients and stir until everything’s well-coated. Press the mixture firmly into a lined pan, chill for 2 hours, and slice into bars. That’s it—no oven needed!
What ingredients are needed for no-bake oat honey protein bars?
You’ll need rolled oats, protein powder (I use vanilla or chocolate), honey, and nut butter like peanut or almond. For texture, I love adding chopped nuts, chia seeds, or dried cranberries. A pinch of salt enhances the flavor, and a splash of vanilla extract adds sweetness. These ingredients stick together beautifully when chilled, making them perfect for grab-and-go snacks. Feel free to customize with your favorite mix-ins!
Can I substitute honey with maple syrup in protein bars?
Yes, you can! Maple syrup works as a great substitute for honey if you prefer its flavor or need a vegan option. Just use the same amount—it’ll bind the ingredients similarly. Keep in mind that maple syrup has a thinner consistency, so your bars might be slightly softer. If that happens, add a bit more protein powder or oats to thicken the mixture. Both options taste delicious, so it’s all about personal preference!
Why do my no-bake protein bars fall apart?
If your bars are falling apart, it’s usually because the mixture isn’t sticky enough. First, make sure you’re using enough honey or syrup—it’s the glue that holds everything together. Also, press the mixture firmly into the pan so it’s compact. Chilling for at least 2 hours is crucial; it helps the bars set. If they’re still crumbly, try adding a bit more nut butter or reducing the dry ingredients slightly.
Why Trust Me?
I’ve been making these Oat Honey Protein Bars No Bake for my family every week for the past two years, and they’re always the first thing to disappear. I’ve learned the perfect balance of honey to oats so they hold together without being too sticky, and my kids swear they taste better than store-bought bars. Last year, I even tweaked the recipe to add a pinch of sea salt, which my sister says makes them “next-level good.”
My Final Thoughts
These oat honey protein bars have been a lifesaver for me on busy mornings and after workouts. They’re no-bake, which means you can whip them up in minutes without turning on the oven, and they’re packed with wholesome ingredients like oats, honey, and protein powder. Plus, they’re customizable—you can toss in your favorite nuts, seeds, or dried fruit to make them your own.

What I love most about this recipe is how simple and satisfying it is. I’ve been making these bars for years, and they’ve become a staple in my kitchen. Whether you’re looking for a quick snack or a post-workout boost, these bars won’t disappoint.
Give this recipe a try—you’ll be amazed at how easy and delicious it is. And if you make them, I’d love to hear how they turned out! Leave a comment below and let me know: What’s your favorite add-in for protein bars?
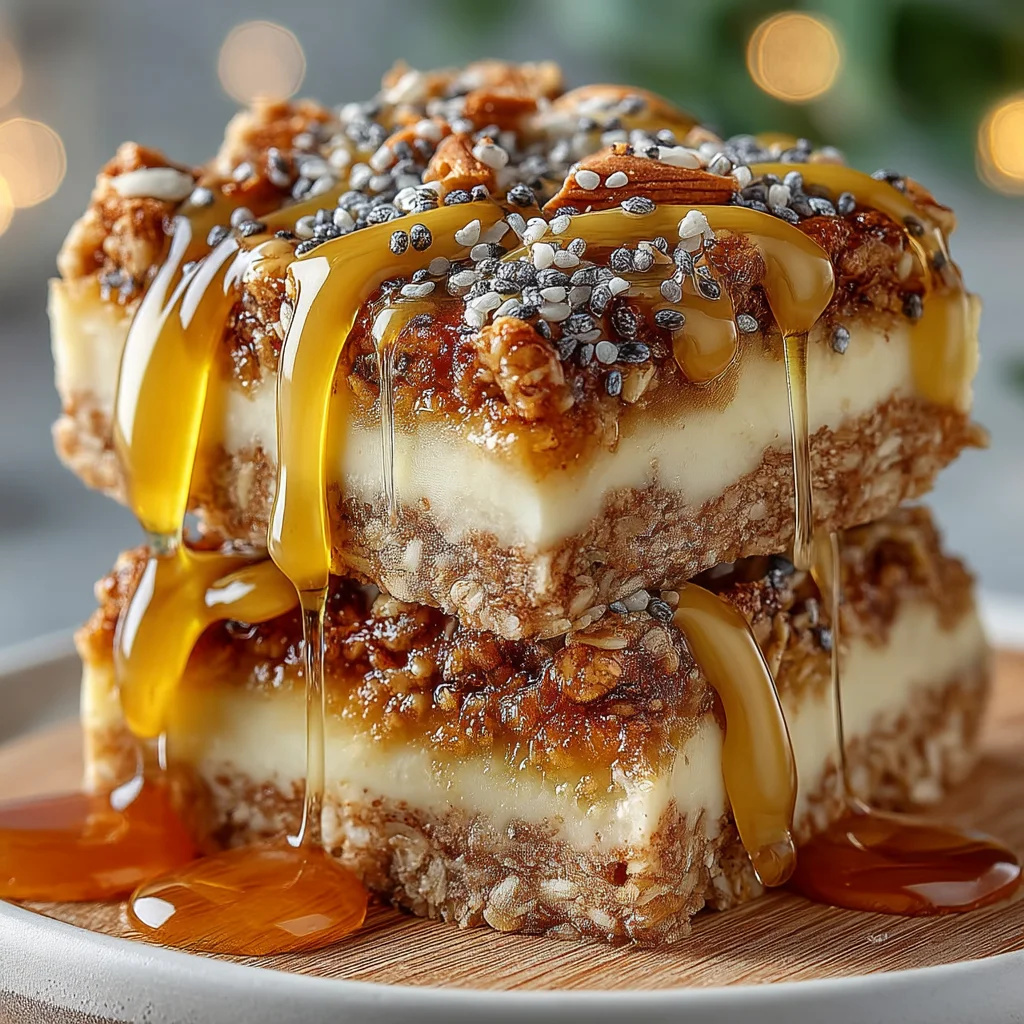
Oat Honey Protein Bars No Bake
Ingredients
Method
- Line an 8×8 inch baking dish with parchment paper.
- In a large mixing bowl, combine rolled oats, protein powder, chia seeds, chopped almonds, and salt.
- In a small saucepan, heat honey, peanut butter, and coconut oil over low heat until melted and smooth.
- Remove the saucepan from heat and stir in vanilla extract.
- Pour the wet mixture into the dry ingredients and mix until fully combined.
- Fold in the dark chocolate chips.
- Press the mixture firmly into the prepared baking dish.
- Refrigerate for at least 1 hour, then cut into 12 bars.


