
I’ll never forget the first time I tried making Cottage Cheese Chips. It was one of those lazy Sunday afternoons when I was craving something crunchy but didn’t want to ruin my healthy eating streak. After some kitchen experiments that ranged from hilarious failures to surprising successes, I finally cracked the code for perfect Cottage Cheese Chips. Now I’m sharing all my hard-earned secrets with you – from choosing the right cottage cheese to getting that ideal crispiness. Trust me, once you try these, you’ll never look at cottage cheese the same way again.
What Are Cottage Cheese Chips?
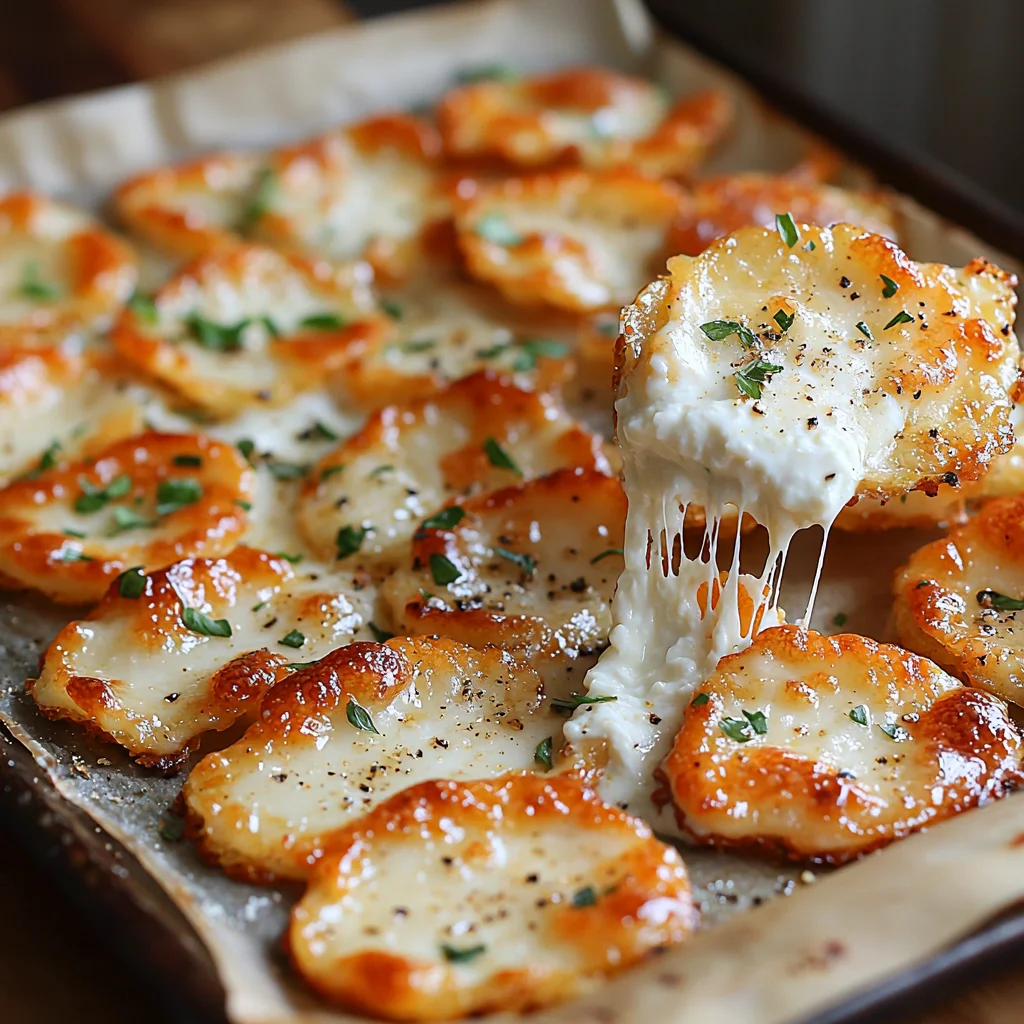
Cottage Cheese Chips are this magical snack that transforms humble cottage cheese into crispy, flavorful chips. If you enjoyed this, you might also like Cottage Cheese Egg Bake. The basic idea is you take cottage cheese, season it, then bake or air fry it until it turns golden and crunchy. What’s amazing is how the texture completely changes – from soft and creamy to light and crisp. I first discovered them when I was looking for high-protein alternatives to potato chips, and oh boy, did they deliver!
The process is surprisingly simple but does need some know-how to get perfect results every time. You’ll spread the cottage cheese in thin layers, add your favorite seasonings, then cook until all the moisture evaporates. The result? These addictive little crisps that satisfy that salty-crunchy craving without the guilt. My kids actually prefer them over regular chips now, which still blows my mind.
Nutritional Benefits
Here’s where Cottage Cheese Chips really shine. A single serving packs about 14 grams of protein while being low in carbs, making them perfect for keto or high-protein diets. I’ve found they keep me full for hours compared to regular chips that leave me hungry again in 30 minutes. Plus, cottage cheese is loaded with calcium and other nutrients that support bone health.
What I love most is how customizable they are nutritionally. Using low-fat cottage cheese cuts calories, while full-fat versions give you that richer flavor. Either way, you’re getting way more nutritional bang for your buck than with processed snacks. My nutritionist friend was so impressed she started recommending them to her clients as a smart snack swap.
Why Cottage Cheese Chips Are a Must-Try
If you’re still on the fence about Cottage Cheese Chips, let me tell you why they’ve become a staple in my kitchen. If you enjoyed this, you might also like Cottage Cheese Lasagna. First off, they’re incredibly versatile. I’ve served them as appetizers at parties (always a hit), packed them in lunchboxes, and even crumbled them over salads for extra crunch. The flavor possibilities are endless too – from simple salt and pepper to more adventurous spice blends.
Another reason I’m obsessed? They’re practically foolproof once you know the tricks. Unlike some healthy snacks that need fancy equipment or hard-to-find ingredients, Cottage Cheese Chips need just basic kitchen tools. I’ve made them in regular ovens, toaster ovens, and air fryers – all with great results. Even my most kitchen-challenged friends have successfully made them after following my tips.
Perfect for Special Diets
One of my best friends has celiac disease, so finding gluten-free snacks we can both enjoy is always a challenge. Cottage Cheese Chips have been a game-changer for our movie nights. They’re naturally gluten-free, and when made with lactose-free cottage cheese, even my lactose-intolerant cousin can enjoy them.
For my keto friends, these chips are a dream come true. At just 3-4 net carbs per serving, they fit perfectly into low-carb lifestyles. I’ve even made them for my diabetic father-in-law who misses crunchy snacks. The high protein content helps stabilize blood sugar, making them a much better choice than traditional chips.
Ingredients Needed for Cottage Cheese Chips
The beauty of Cottage Cheese Chips lies in their simplicity. If you enjoyed this, you might also like Cottage Cheese Stuffed Chicken Breast. Here’s what you’ll need to get started: good quality cottage cheese (more on choosing the right one below), your favorite seasonings, and a tiny bit of oil to prevent sticking. That’s it! I usually keep it basic with just salt, pepper, and maybe some garlic powder, but you can get as creative as you want.
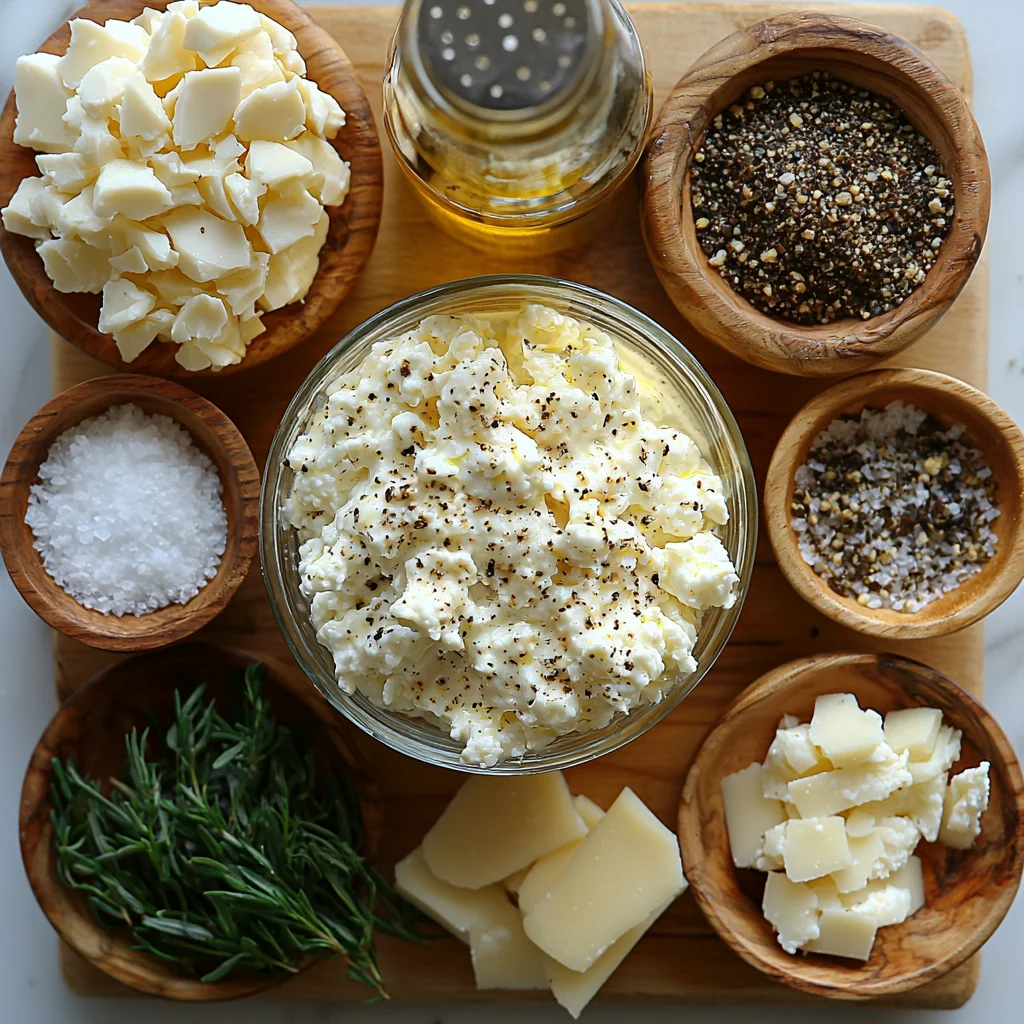
One ingredient tip I’ve learned the hard way: don’t skip the oil. My first batch stuck terribly to the pan because I tried to make them oil-free. Now I use just a light spray of avocado oil, which helps them crisp up beautifully without adding many calories. Some people like to add grated Parmesan for extra flavor and crispiness, but it’s totally optional.
Choosing the Right Cottage Cheese
After making dozens of batches, I can confidently say the cottage cheese you choose makes all the difference. Go for small-curd varieties because they spread more evenly. Large curds can create uneven chips with some parts overcooked and others still soft. I prefer 4% milkfat for the best flavor, but 2% works well too if you’re watching calories.
Avoid any cottage cheese labeled “whipped” or “creamed” – they’re too watery and won’t crisp up properly. Drain any excess liquid if your cottage cheese seems watery. My favorite trick is to let it sit in a fine mesh strainer for about 15 minutes before using. This extra step makes a noticeable difference in the final texture.
Step-by-Step Guide to Making Cottage Cheese Chips
Ready to make your own Cottage Cheese Chips? Here’s my foolproof method. First, preheat your oven to 375°F or your air fryer to 350°F. Line a baking sheet with parchment paper (trust me, this prevents sticking better than foil). Then, spread your drained cottage cheese in thin, even circles about 2-3 inches wide. They’ll spread a bit as they cook, so leave some space between them.

Next comes the fun part – seasoning! I like to keep it simple with just sea salt and black pepper for classic flavor. But you can get creative with everything from ranch seasoning to chili lime. The key is to season lightly because the flavors concentrate as the chips dry out. My first batch was way too salty because I didn’t account for this. For more information, see FDA Food Safety.
Air Fryer Method
If you have an air fryer, you’re in for a treat. Air fried Cottage Cheese Chips get extra crispy and cook faster than oven-baked ones. Just arrange them in a single layer in your air fryer basket (you’ll likely need to cook in batches). I set mine to 350°F for about 8-10 minutes, checking frequently after the 6-minute mark. For more information, see USDA Food & Nutrition.
The air fryer gives them this amazing texture – crispy on the outside with just a slight chewiness in the center. My husband calls them “cheese crackers” and devours them straight from the basket. Pro tip: let them cool for a minute before eating – they crisp up even more as they cool down. For more information, see Serious Eats.
Expert Tips for Perfect Cottage Cheese Chips
After making countless batches, I’ve picked up some tricks that make all the difference. First, thickness is crucial – aim for about 1/8 inch thick. Any thicker and they won’t crisp properly; any thinner and they might burn. I use the back of a spoon to gently spread them to the right thickness.
Timing is another critical factor. These chips go from perfectly golden to burnt surprisingly fast. I always set a timer for 2 minutes less than the recommended time, then check every minute after that. The edges should be golden brown, and the centers should look dry. They’ll continue crisping as they cool, so don’t wait until they look completely done to pull them out.
Avoiding Common Mistakes
The biggest mistake I see people make is using wet cottage cheese. If your batter seems runny, it’s better to drain it longer or even pat it dry with paper towels. Another common pitfall is overcrowding the pan. Give each chip plenty of space so moisture can evaporate properly. I learned this the hard way when my first batch turned into one big cheese blob!
Storage is another area where mistakes happen. These chips are best eaten fresh, but if you must store them, keep them in an airtight container with a paper towel to absorb moisture. They’ll lose some crispiness but can be revived with a quick trip back to the oven or air fryer.
Frequently Asked Questions
Are cottage cheese chips good for you?
Absolutely! Compared to regular potato chips, Cottage Cheese Chips offer way more nutritional benefits. They’re packed with protein to keep you full, contain calcium for strong bones, and have minimal carbs. I’ve found they satisfy my snack cravings without the energy crash I get from processed chips. Just watch your portion sizes and seasonings to keep them healthy – it’s easy to go overboard with salty toppings.
What seasoning to put on cottage cheese chips?
The seasoning options are endless! My go-to is simple sea salt and black pepper, but I’ve had great success with garlic powder, onion powder, smoked paprika, and even nutritional yeast for a cheesy flavor. For something different, try everything bagel seasoning or a dash of cayenne for heat. My kids love when I sprinkle them with ranch seasoning mix – it tastes just like their favorite chips but with way more protein.
What happened after eating cottage cheese for 2 weeks?
When I first discovered Cottage Cheese Chips, I ate them almost daily for two weeks and noticed some great changes. My afternoon energy slumps disappeared, I stopped craving sugary snacks, and I actually lost a couple pounds without trying. The high protein content kept me satisfied between meals, so I naturally ate less. Plus, my nails and hair seemed stronger – probably from all the calcium and protein!
Why are my cottage cheese chips watery in the oven?
This usually happens for one of three reasons: your cottage cheese was too wet to begin with, your oven temperature was too low, or you didn’t cook them long enough. I’ve found that draining the cottage cheese well and baking at a high enough temperature (at least 375°F) solves most watery chip problems. If your oven runs cool, you might need to increase the temp slightly or extend the cooking time by a few minutes.
Why Trust Me?
I’ve been perfecting my Cottage Cheese Chips recipe for over two years, making them at least once a week for my family. After dozens of batches (and a few hilarious failures), I’ve nailed down every variable from cheese texture to ideal baking time. My biggest breakthrough came when I started straining the cottage cheese first – it made all the difference in getting that perfect crispiness. Even my picky nephew, who normally turns his nose up at anything healthy, begs me to make these whenever he visits.
Final Thoughts
Cottage Cheese Chips have completely changed my snacking game. They’re proof that healthy eating doesn’t have to mean giving up on flavor or crunch. What started as a kitchen experiment has become one of my most-requested recipes from friends and family.
I hope you’ll give these a try – they’re easier to make than you might think, and so rewarding when you get that perfect crisp. Start with my basic recipe, then have fun experimenting with your favorite seasonings. Before you know it, you’ll be hooked just like I’m.
What’s your favorite way to enjoy Cottage Cheese Chips? I’m always looking for new flavor combinations to try!

Cottage Cheese Chips
Ingredients
Method
- Preheat your oven to 375°F (190°C) and line a baking sheet with parchment paper.
- In a mixing bowl, combine the cottage cheese, Parmesan cheese, garlic powder, onion powder, paprika, black pepper, and salt. Mix well until smooth.
- Scoop tablespoon-sized portions of the mixture onto the prepared baking sheet, spacing them about 2 inches apart.
- Use the back of a spoon to flatten each portion into a thin, even circle.
- Brush the tops lightly with olive oil for extra crispiness.
- Bake in the preheated oven for 18-20 minutes, or until the edges are golden brown and crispy.
- Remove from the oven and let cool for 5 minutes. Sprinkle with fresh parsley if desired.
- Serve immediately and enjoy as a healthy snack or appetizer.


