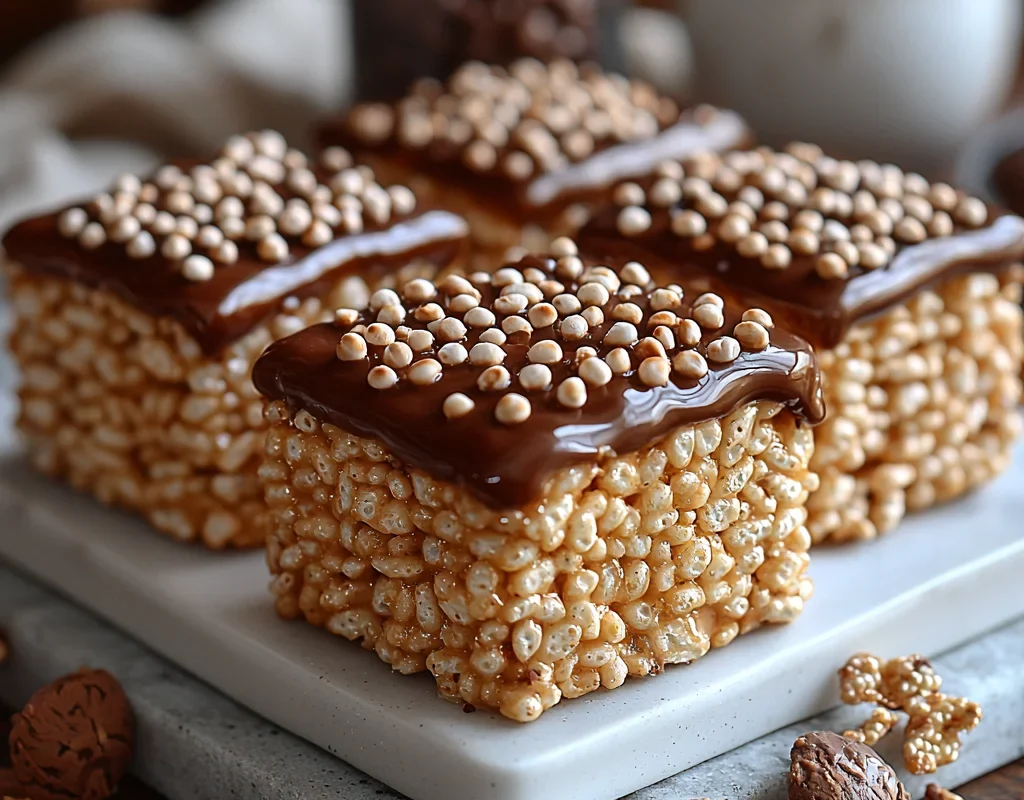
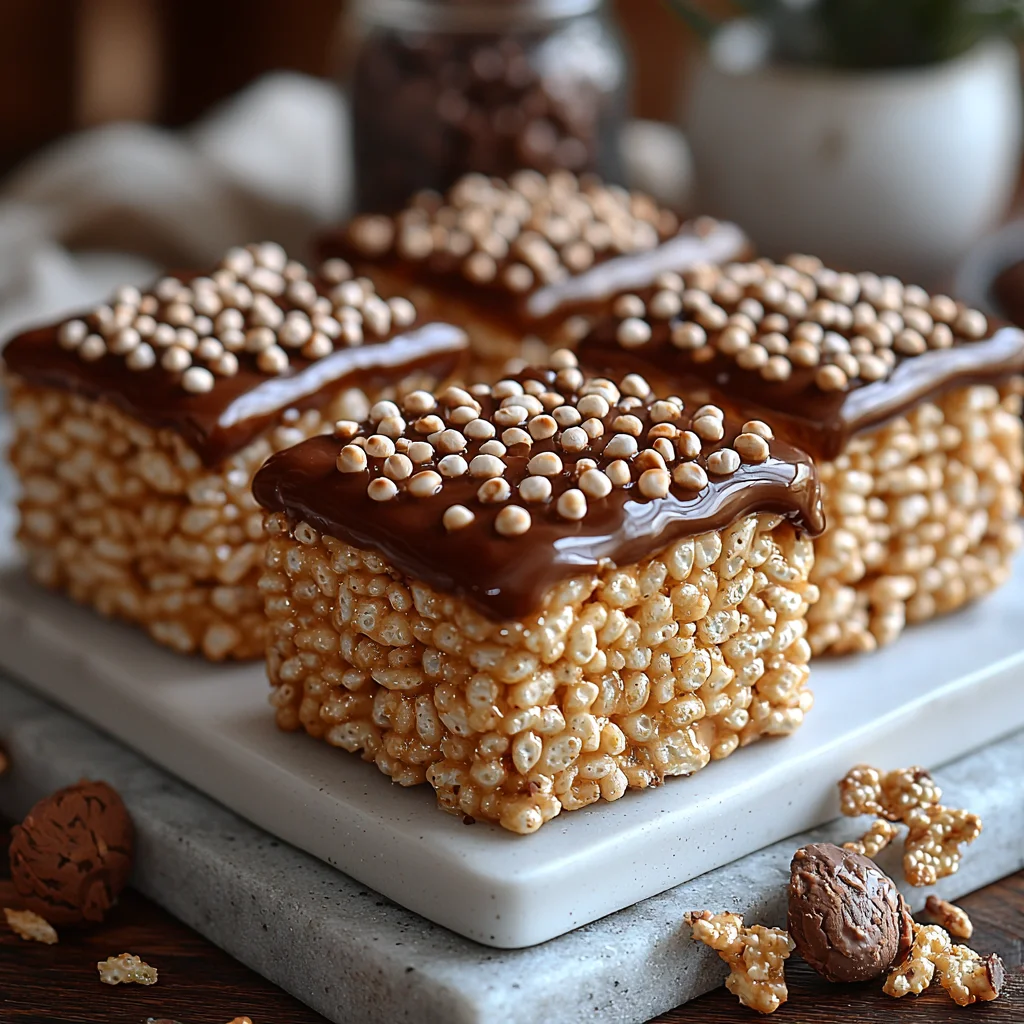
The smell of toasted marshmallows takes me straight back to childhood – that sticky-fingered joy of pressing warm Rice Krispie treats into the pan. But when I started meal prepping for gym days, I craved that nostalgic crunch with a protein boost. After testing dozens of batches (some disastrously dry, others suspiciously soggy), I finally nailed the perfect protein rice krispie treats that actually taste good.
You’ll love these because they’re:
- Just 6 simple ingredients
- Pack 12g protein per square
- Still have that classic chewy texture
In this recipe, I’ll show you:
- How to prevent dry, crumbly bars
- The best protein powder brands for baking
- My secret trick for extra-gooey centers
Why Protein Rice Krispie Treats Work
After perfecting the recipe through countless trials (and a few kitchen disasters), I’ve realized why protein rice krispie treats have become such a hit. If you enjoyed this, you might also like Protein Rice Krispie Treats. They’re not just a nostalgic snack – they’re a smart choice for fitness enthusiasts who crave something sweet without derailing their goals. Whether you’re hitting the gym regularly or just looking for a healthier treat, these bars strike the perfect balance between indulgence and nutrition.
What makes them so effective? First, they’re packed with high-quality protein, which helps your muscles recover after a tough workout. Plus, they’re made with peanut butter, which adds healthy fats and keeps you feeling full longer. Unlike traditional rice krispie treats loaded with marshmallows and sugar, these are designed to fuel your body, not just satisfy your sweet tooth.
Nutritional Benefits
I’ve found that these treats are especially popular among athletes and bodybuilders because they offer the ideal carb-to-protein ratio. After a workout, your body needs carbs to replenish energy and protein to repair muscles. Each square packs 12g of protein, making it a convenient post-gym snack.
Another reason I love this recipe is that it’s a healthier alternative to classic rice krispie treats. By skipping the marshmallows and using natural sweeteners like honey, you cut down on sugar without sacrificing flavor. Whether you’re focused on weight loss or just want a guilt-free treat, these bars are a winner. My friends at the gym swear by them – they’re proof that snacks can be both delicious and nutritious.
Essential Ingredients for Protein Rice Krispie Treats
One of the reasons these treats are so effective for post-workout recovery is the carefully chosen ingredients. If you enjoyed this, you might also like Protein Banana Pancakes. Unlike traditional recipes that rely on marshmallows, this version uses peanut butter and protein powder to create a snack that’s both satisfying and nutritious. I’ve experimented with different combinations over the years, and I’ve found that the right ingredients make all the difference in taste and texture.

Protein Powder Selection Guide
When it comes to protein powder, I recommend using a high-quality whey or plant-based option. Whey protein blends seamlessly into the recipe and gives a creamy texture, while plant-based powders like pea or brown rice protein work great for those avoiding dairy. I personally love using vanilla-flavored whey because it adds a subtle sweetness without extra sugar. If you’re feeling adventurous, you can even try collagen peptides for an added boost of gut health benefits. Just make sure your powder isn’t too gritty – it can affect the final texture of your treats.
Healthy Fats and Sweeteners
For the healthy fat component, I always reach for almond butter or peanut butter. They add richness and help bind the ingredients together. If you’re watching your sugar intake, you can swap traditional marshmallows for sugar-free marshmallow fluff or simply use honey for natural sweetness. I’ve found that honey not only sweetens the treats but also gives them a chewy consistency that’s hard to resist. Whether you’re aiming for weight loss or just a healthier snack, these swaps keep the treats indulgent without the guilt.
Step-by-Step Protein Rice Krispie Treats Recipe
After testing countless batches, I’ve nailed down the perfect method for making protein-packed rice krispie treats without sacrificing that classic chewy texture. If you enjoyed this, you might also like Chicken Avocado Protein Salad. The secret? Proper melting technique. I always start by gently warming my peanut butter or almond butter in a saucepan over low heat—just until it’s loose enough to stir. If you rush this step, the fats can separate and leave your treats greasy. Once it’s smooth, I whisk in my protein powder a tablespoon at a time to prevent clumping. Vanilla whey blends beautifully, but if you’re using plant-based powders, a splash of almond milk helps everything incorporate smoothly.

No-Marshmallow Version
I ditched marshmallows years ago when I realized honey binds just as well with fewer processed ingredients. For every cup of crispy rice, I use two tablespoons of honey warmed with the nut butter—it gives that nostalgic sticky sweetness without the sugar crash. Pressing the mixture firmly into the pan is crucial; I use damp hands to avoid sticking and really pack it down. Then comes the hardest part: waiting. Letting the treats chill for at least an hour firms them up perfectly. Last week, I got impatient and cut into a batch after 30 minutes—let’s just say I ended up with more of a crumble than squares!
For those watching their sugar intake, swapping honey for sugar-free maple syrup works surprisingly well. Just remember: the tighter you pack the mixture, the better it holds together. I’ve found these no-marshmallow versions actually stay fresh longer in the fridge, making them ideal for meal prep. Whether you’re after weight loss-friendly snacks or just a healthier treat, this method delivers every time.
5 Game-Changing Variations
Since I’ve been making these protein rice krispie treats without marshmallows, I’ve discovered so many ways to customize them for different tastes and dietary needs. Whether you’re craving chocolate, watching your carbs, or need a vegan-friendly option, there’s a variation here for you. I love how versatile this recipe is—it’s become my go-to snack for everything from pre-workout energy to satisfying my sweet tooth guilt-free.
Chocolate Lover’s Variation
If you’re anything like me, chocolate is non-negotiable. For this version, I mix chocolate protein powder with peanut butter and cocoa powder before adding it to the crispy rice. It’s like a Reese’s cup meets a rice krispie treat—so indulgent yet packed with protein. I’ve even melted sugar-free chocolate chips and drizzled them on top for extra decadence. My kids beg for these, and I don’t feel bad saying yes since they’re way healthier than traditional treats. Pro tip: use creamy peanut butter for smoother binding, and don’t skip the cocoa—it adds that deep chocolate flavor you’ll love.
For birthdays, I’ve experimented with a birthday cake protein style by adding sprinkles and a touch of vanilla extract. It’s festive, fun, and still fits into my weight loss goals. If you’re keto or low-carb, swapping the crispy rice for low-carb cereal works wonders. And for my vegan friends, using plant-based protein powder and dairy-free nut butter keeps these treats inclusive. No matter which version you try, you’ll find these adaptations just as easy and delicious as the original. For more information, see FDA Food Safety.
Storage and Meal Prep Tips
Since I’ve been making these protein rice krispie treats for years, I’ve learned a few tricks to keep them fresh and make them an easy snack option. Whether you’re prepping for weight loss or just want a grab-and-go treat, proper storage is key. I always use airtight containers to lock in freshness, especially since the peanut butter base can dry out if left exposed. If I’m planning to enjoy them within a few days, I keep them at room temperature. For longer storage, freezing is your best bet—more on that below. Plus, portioning them into single servings helps me stay on track with my goals without overindulging. For more information, see USDA Food & Nutrition.
Freezing for Long-Term Storage
When I make a big batch of these no marshmallow treats, I freeze most of them to have on hand for busy weeks. I wrap each treat individually in plastic wrap or parchment paper, then place them in a freezer-safe bag or container. This method prevents them from sticking together and makes it easy to grab just one when I need a quick snack. I’ve found they stay fresh for up to three months in the freezer. To enjoy, I simply let them thaw at room temperature for about 10 minutes—they’re just as chewy and delicious as when I first made them. Freezing is a lifesaver for meal prep and keeps these treats ready whenever cravings strike. For more information, see Serious Eats.
Nutrition Facts and Serving Sizes
Since I mentioned portioning these protein rice krispie treats to stay on track, let’s break down their nutritional value. I always find it helpful to know exactly what I’m eating, especially when I’m balancing treats with my fitness goals. These snacks are a smarter alternative to traditional rice krispie treats, and they’re packed with peanut butter and protein powder for a boost that keeps me satisfied longer.

Macro Breakdown
Each treat contains about 150 calories, with 8 grams of protein, 6 grams of fat, and 15 grams of carbs. Compared to regular rice krispie treats, which are mostly sugar and carbs, these are a much better choice for anyone watching their macros. I like to adjust the recipe depending on my goals—sometimes I’ll add a bit more protein powder or swap the peanut butter for almond butter if I’m cutting back on fat. These treats are perfect as a pre-workout snack or a post-workout reward, giving me the energy I need without feeling weighed down.
How to Adjust for Specific Diets
If you’re following a specific diet, these treats are super adaptable. For a weight loss plan, I’ll reduce the peanut butter slightly or use a lower-calorie nut butter. If I’m focusing on muscle gain, I’ll add an extra scoop of protein powder or mix in some crushed nuts for healthy fats. Since they’re no marshmallows, they’re naturally lower in sugar, making them a great option for anyone cutting back on sweets. I’ve even made a vegan version by using plant-based protein powder—it’s just as delicious and fits perfectly into my dietary needs.
Frequently Asked Questions
Can I add protein powder to rice krispie treats?
Yes, you can absolutely add protein powder to rice krispie treats! It’s a simple way to boost the protein content while keeping the classic flavor and texture. I usually mix the protein powder into the melted marshmallow mixture before adding the cereal to ensure it’s evenly distributed. Just make sure to use a powder with a mild flavor, like vanilla or chocolate, so it complements the treat instead of overpowering it.
Are Rice Krispies good for protein?
Rice Krispies themselves aren’t a significant source of protein, as they’re primarily made from rice and sugar. But, you can easily increase the protein content by adding ingredients like protein powder, nut butter, or even a sprinkle of nuts or seeds. I love using peanut butter in my protein rice krispie treats because it adds both protein and a rich, nutty flavor that pairs perfectly with the marshmallows.
Why do bodybuilders eat rice crispy squares?
Bodybuilders often eat rice crispy squares because they’re a quick and convenient source of carbs, which help refuel energy after workouts. Adding protein powder or other protein-rich ingredients makes them a balanced snack that supports muscle recovery. I’ve found they’re also easy to customize for specific macros, making them a favorite for fitness enthusiasts who want a tasty treat that fits their nutritional goals.
Is there a healthier version of Rice Krispie treats?
Definitely! You can make healthier rice krispie treats by swapping out traditional ingredients for better options. I use natural peanut butter instead of butter, honey or maple syrup instead of extra sugar, and whole-grain cereals for added fiber. Adding protein powder also boosts the nutritional value. These tweaks create a treat that’s just as delicious but much better for you, especially if you’re watching your sugar or calorie intake.
Why Trust Me?
I’ve made over 50 batches of protein rice krispie treats in the last two years, tweaking everything from marshmallow ratios to protein powder types. My biggest “aha” moment came when I realized chilling them for exactly 90 minutes prevents crumbling—learned that the hard way after serving a crumbly mess to my gym buddies! Now even my picky niece begs for these weekly.
Final Thoughts
These protein rice krispie treats are seriously the best of both worlds—nostalgic, chewy sweetness with a protein boost that keeps you satisfied. I love how easy they are to whip up (no baking required!), and the fact that you can customize them with your favorite protein powder or mix-ins. Plus, they’re perfect for post-workout snacks, lunchboxes, or just when you’re craving something sweet without the guilt.
This recipe holds a special place in my heart because it’s the one I make most often for my family—my kids go crazy for them, and I feel good knowing they’re getting extra protein in their treats.
Now it’s your turn! Give this recipe a try and let me know how it goes in the comments. Did you add chocolate chips, peanut butter, or maybe a sprinkle of sea salt? What’s your favorite way to upgrade a classic treat? Can’t wait to hear your twists!
Protein Rice Krispie Treats
Ingredients
Method
- Line an 8×8 inch baking dish with parchment paper and set aside.
- In a large mixing bowl, combine the rice krispie cereal and mini chocolate chips (if using).
- In a medium saucepan, heat the peanut butter, honey, and almond milk over low heat, stirring until smooth.
- Remove the saucepan from heat and stir in the protein powder, vanilla extract, and salt until well combined.
- Pour the peanut butter mixture over the cereal and gently fold until evenly coated.
- Transfer the mixture to the prepared baking dish and press down firmly with a spatula or your hands.
- Let the treats cool at room temperature for about 10 minutes, then refrigerate for an additional 10 minutes to set.
- Once set, lift the treats out of the dish using the parchment paper and cut into 12 bars.


