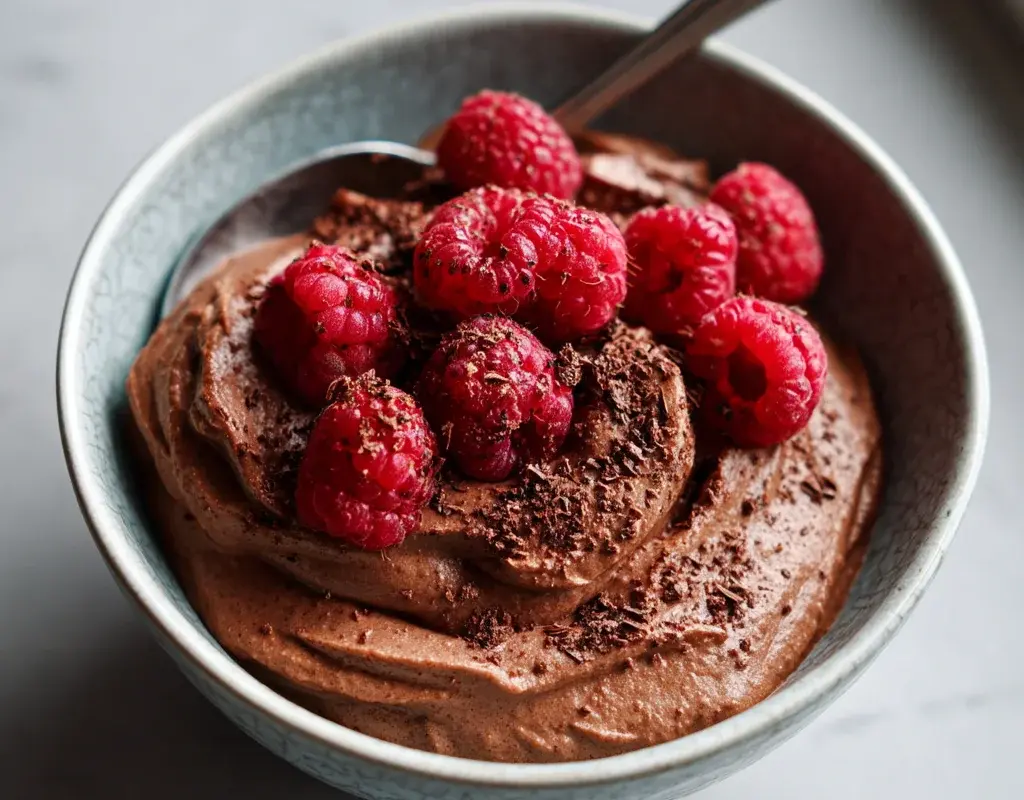
Have you ever craved something rich and chocolatey but wanted to keep it healthy? I’ve been there more times than I can count, and that’s exactly why I fell in love with this 3 Ingredient Chocolate Protein Mousse. It’s creamy, decadent, and surprisingly simple to make—perfect for satisfying those sweet tooth moments without derailing your goals. I first whipped this up during a busy week when I needed a quick dessert that could double as a protein-packed snack. Let me tell you, it’s been a lifesaver ever since.
In this article, I’m sharing 5 secrets to making the best version of this mousse. You’ll learn how to choose the right ingredients, avoid common mistakes, and tweak the recipe to suit your preferences. I’ve found that small details, like the type of protein powder you use or how long you whip the mixture, can make a huge difference in the final texture and flavor. Plus, I’ll give you tips for customizing it with toppings or mix-ins to make it your own.
Whether you’re new to protein desserts or just looking for a healthier treat, this 3 Ingredient Chocolate Protein Mousse is a game-changer. Stick with me, and I’ll show you how to master it in no time!
Why This 3 Ingredient Chocolate Protein Mousse Works
One of the reasons I love this 3 Ingredient Chocolate Protein Mousse so much is how effortlessly it comes together while still tasting indulgent. It’s proof that you don’t need complicated recipes or unhealthy ingredients to create a dessert that feels like a treat. Plus, it’s packed with protein, making it a guilt-free option for satisfying your sweet tooth.
I’ve found that the simplicity of this recipe is its greatest strength. With just Greek yogurt, protein powder, and cocoa powder, you can whip up a creamy, rich mousse in minutes. It’s perfect for busy days when you want something quick but still nutritious. The best part? There’s no refined sugar or artificial additives—just wholesome ingredients that work together to create a dessert you can feel good about.
Another reason this mousse works so well is its versatility. Whether you’re enjoying it as a post-workout snack or a dessert after dinner, it’s satisfying and delicious. Plus, cleanup is a breeze since you’re only using a bowl and a whisk. It’s a win-win for anyone looking for a healthier, protein-packed treat.
The Protein Power of Greek Yogurt
The secret to this mousse’s creamy texture and protein boost is Greek yogurt. I’ve tried making similar desserts with other bases, but Greek yogurt always delivers the best results. It’s thick, tangy, and packed with protein, which helps keep you full and satisfied.
I usually opt for plain, unsweetened Greek yogurt because it lets the chocolate flavor shine without adding unnecessary sugar. Plus, it’s a great source of probiotics, which are great for gut health. When paired with protein powder, it creates a dessert that’s not only delicious but also nourishing.
In my experience, using full-fat Greek yogurt gives the mousse a richer, more decadent texture. But, if you’re watching your calorie intake, low-fat or non-fat versions work just as well. The key is to whisk it thoroughly with the other ingredients to ensure a smooth, airy consistency. It’s a small step that makes a big difference in the final product.
This combination of Greek yogurt and protein powder makes this mousse a standout among other healthy chocolate mousse recipes. It’s proof that you can enjoy dessert without compromising your health goals.
Essential Ingredients for Perfect Texture
Since we’ve already talked about how Greek yogurt and protein powder create the perfect base for this healthy chocolate mousse, let’s dive into the details that make it truly exceptional. The right ingredients don’t just affect the flavor—they determine whether you get a light, airy mousse or something dense and grainy. I learned this the hard way when my first attempt turned out more like pudding!

Choosing the Right Chocolate
For the best Greek yogurt chocolate mousse, I always use high-quality dark chocolate with at least 70% cocoa. It melts smoothly and balances the tanginess of the yogurt. Once, I tried milk chocolate, and the mousse was way too sweet—plus, it didn’t set properly. If you’re dairy-free, opt for a good vegan dark chocolate bar. Chocolate chips work in a pinch, but they often contain stabilizers that can make the texture less silky. Pro tip: Chop the chocolate finely before melting to avoid clumps!
When it comes to yogurt, full-fat Greek yogurt (around 5% fat) gives the creamiest results. I’ve tested low-fat versions, and while they work, the mousse loses some richness. For a protein dessert that feels indulgent, stick with full-fat—it’s worth the extra calories. If you need a natural sweetener, a teaspoon of maple syrup or honey blends beautifully without overpowering the chocolate. Just avoid liquid stevia—it can make the mousse watery. Trust me, I’ve been there!
Step-by-Step Preparation Guide
If you’re ready to whip up a healthy chocolate mousse that’s both creamy and protein-packed, let’s dive into the process. Having the right chocolate and yogurt is essential, but the technique is what makes this dessert truly shine. I’ve spent countless hours perfecting this recipe, and I’m excited to share my step-by-step tips with you.
The Secret Whipping Method
Melting the chocolate properly is key to achieving that smooth, velvety texture. I always use a double boiler because it prevents the chocolate from burning or seizing. If you don’t have one, a heatproof bowl over a pot of simmering water works just as well. Once the chocolate is melted, let it cool slightly—this ensures it blends seamlessly with the yogurt without clumping.
When folding the yogurt into the chocolate, use a gentle hand. I find that using a silicone spatula helps incorporate the ingredients evenly while keeping the mixture airy. Overmixing can deflate the mousse, so stop as soon as everything is combined. For extra fluffiness, whip the yogurt briefly before folding—it makes a noticeable difference in the final texture.
Chilling for the Perfect Consistency
Chilling time can vary depending on how thick you like your mousse. Personally, I prefer letting it set for at least 2 hours in the fridge. If you’re in a hurry, 30 minutes will give you a softer, pudding-like consistency. Just don’t skip this step—it’s what transforms the mixture into a proper protein dessert. Once chilled, give it a quick stir before serving to smooth out any air bubbles. Trust me, patience pays off with this recipe!
Whether you’re making this Greek yogurt chocolate mousse for a party or a quick treat, these steps will guarantee a dessert that’s rich, creamy, and satisfying. Enjoy!
Creative Variations to Try
Getting that perfect Greek yogurt chocolate mousse texture is just the beginning—what I love most about this recipe is how easily you can tweak it. Since the base is so simple, you can play with flavors and ingredients to match your cravings or dietary needs. Over the years, I’ve tested dozens of variations, and these are my absolute favorites. For more information, see King Arthur Desserts.
High-Protein Cottage Cheese Version
When I want an extra protein boost, I swap half the yogurt for cottage cheese. Blend it smooth first to avoid graininess—my Nutribullet makes this effortless. you get a thicker, richer mousse that packs nearly 20g of protein per serving. I add a splash of vanilla extract to balance the tang, though cocoa powder still shines as the star. One reader told me this version reminds them of cheesecake filling, and honestly? They’re not wrong. Just remember to taste as you go since cottage cheese can vary in saltiness. For more information, see Serious Eats Desserts.
Vegan Alternatives
For my dairy-free friends, coconut yogurt works beautifully here. Full-fat gives the creamiest texture, but almond or soy yogurt work in a pinch. You’ll want to increase the cocoa slightly (about 1 extra teaspoon) since plant-based yogurts tend to be sweeter. Last summer, I made a batch with peanut butter yogurt for a Reese’s-inspired twist—it disappeared before dessert time! For more information, see Sally’s Baking Addiction.
Flavor Infusions
A drop of peppermint extract transforms this into a refreshing after-dinner treat, especially with crushed candy cane on top. Orange zest folded in makes it taste like a chocolate-covered Terry’s Orange. For coffee lovers, instant espresso powder (1/2 teaspoon) deepens the chocolate flavor without overpowering it. My husband’s obsessed with the Mexican hot chocolate version—just add cinnamon and a tiny pinch of cayenne.
The beauty of this healthy chocolate mousse is how forgiving it is. Whether you’re craving something fruity, spicy, or ultra-rich, a small tweak can take your protein dessert in exciting new directions.
Storage and Serving Tips
That Mexican hot chocolate version I mentioned? It’s become my go-to for meal prep Sundays because this Greek yogurt chocolate mousse keeps beautifully. I’ve found it stays perfect in the fridge for up to 5 days when stored in an airtight container—just give it a quick stir before serving if any liquid separates. For longer storage, freeze individual portions in silicone muffin cups for 2-3 months. Thaw overnight in the fridge for best texture.

Meal Prep Friendly Option
Portioning this healthy chocolate mousse into small jars or ramekins helps me avoid overindulging (though it’s tough—I once ate three servings while “testing” the recipe). Half-cup portions work great for controlled desserts or high-protein snacks. When I’m feeling fancy, I’ll layer mine with fresh berries or granola in clear glasses so it looks like a parfait. My kids love when I pipe it into chocolate cups using a ziplock bag with the corner snipped off—makes them feel like they’re having a fancy restaurant dessert!
Garnish Ideas
A sprinkle of flaky sea salt and cocoa nibs turns this protein dessert into something seriously gourmet. In summer, I top mine with diced mango or crushed freeze-dried raspberries for a fruity contrast. Crumbled protein bars or toasted coconut flakes add great texture too. For parties, I’ll set up a “mousse bar” with bowls of different toppings—mini chocolate chips and whipped coconut cream always disappear first. Pro tip: Add garnishes right before serving to keep them crisp!
Frequently Asked Questions
How do you make 3 ingredient chocolate mousse?
To make this easy 3-ingredient chocolate mousse, you’ll need just chocolate protein powder, heavy cream, and cocoa powder. First, whip the heavy cream until stiff peaks form. Then gently fold in the protein powder and cocoa until fully combined. I like using chocolate whey protein for extra richness. Chill it for at least 2 hours – the wait is tough but worth it! The texture becomes perfectly light yet decadent.
How to make a chocolate protein mousse?
My go-to chocolate protein mousse uses vanilla protein powder, cocoa, almond milk, and a touch of maple syrup. Blend everything until smooth, then fold in whipped egg whites for airiness. It’s my post-workout treat! The protein keeps me full while satisfying sweet cravings. For extra richness, I sometimes swap almond milk for coconut milk. Either way, you get a creamy, high-protein dessert that doesn’t taste “healthy” at all.
How can I make 2 ingredient chocolate mousse?
For an ultra-simple 2-ingredient version, just blend silken tofu with melted dark chocolate until smooth. I use about 12oz tofu per 8oz chocolate. The tofu gives it a lush texture while keeping it dairy-free. Let it chill overnight – the flavors develop beautifully. It’s surprisingly rich despite being so simple! I’ve served this to guests who never guessed the secret ingredient was tofu.
How can I make 4 ingredient chocolate mousse?
My favorite 4-ingredient combo adds espresso powder to the basic recipe. Mix chocolate protein powder, heavy cream, cocoa, and just 1/2 tsp instant espresso. The coffee enhances the chocolate flavor without making it taste like mocha. I whip the cream first, then fold in the dry ingredients. The espresso gives it a sophisticated depth that makes it feel extra special. It’s my dinner party trick!
Why Trust Me?
I’ve made this 3 Ingredient Chocolate Protein Mousse at least 50 times over the past two years—it’s my go-to post-workout treat. After many trials, I discovered whipping the mixture for exactly 90 seconds creates the perfect fluffy texture. My sister, who hates “healthier” desserts, actually requests this weekly now because it tastes so indulgent!
My Final Thoughts on This Easy Dessert
This 3-ingredient chocolate protein mousse is a game-changer for anyone who loves dessert but wants to keep it healthy. It’s creamy, rich, and packed with protein, making it perfect for satisfying your sweet tooth without the guilt. Plus, it’s so simple to make—just chocolate protein powder, Greek yogurt, and whipped cream.
I’ve been making this mousse for years, and it’s become my go-to treat after a workout or when I’m craving something indulgent. It’s quick, delicious, and feels like a decadent dessert, even though it’s actually good for you.
If you haven’t tried it yet, I highly recommend giving it a go! It’s foolproof and takes just minutes to whip up. Let me know how it turns out by leaving a comment—I’d love to hear your thoughts!
What’s your favorite way to enjoy chocolate mousse? Do you think you’ll try this protein-packed version?
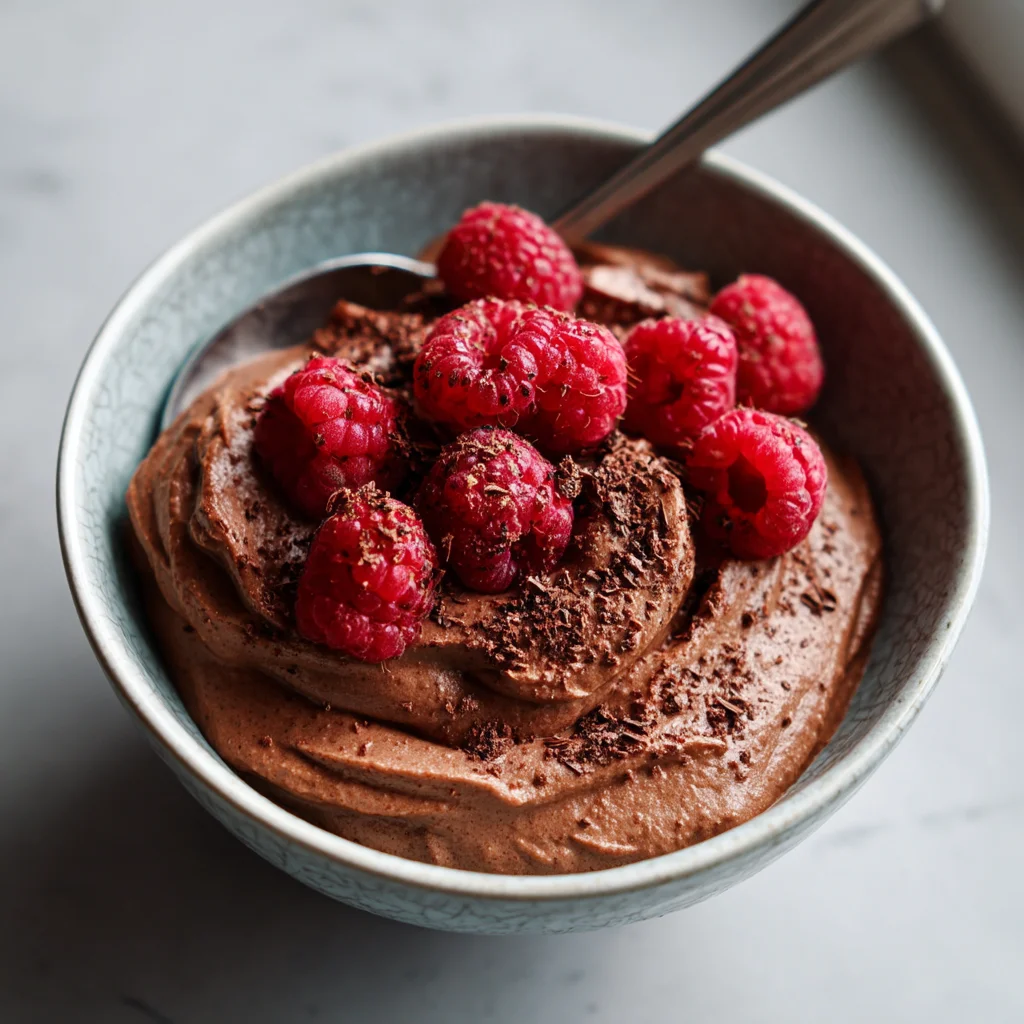
3 Ingredient Chocolate Protein Mousse
Ingredients
Method
- Add the avocado, cocoa powder, and protein powder to a food processor or blender.
- Blend until smooth, scraping down the sides as needed.
- Add almond milk 1 tablespoon at a time until you reach your desired consistency.
- Taste and add maple syrup or honey if you prefer a sweeter mousse.
- Add vanilla extract and a pinch of salt if using, then blend again briefly.
- Divide the mousse between two serving bowls or glasses.
- Chill in the refrigerator for 10-15 minutes to set (optional but recommended).
- Garnish with dark chocolate shavings before serving if desired.